In a world of constant change, WordPress is no exception. None can deny that software updates in general provide security fixes and improvements. The same applies to WordPress plugins and themes. You need to update your WordPress theme every time there is a new version available, in order to keep your website safe and working as expected and avoid surprises. Additionally, an update can provide fixes for one or more issues regarding the usability and the design of the theme; it may also confront a security flaw. In some cases, an update may as well add new features you really wouldn’t like to miss.
Even though the process is an everyday routine for most developers, it can be a riddle for the average user. Concerning the importance of the subject, we are going to present a number of ways to update a WordPress theme and benefit from the additions/features/fixes the latest version has to offer. The information is applicable to any WordPress installation, live, local, or staging.
Stage 1: Prepare The Installation To Update Your WordPress Theme
Working with the updates on a live (production) site should always be done with moderation. Although the plugins and the theme may claim they are compatible with the latest version of WordPress, you never know if they conflict with each other. Thankfully, we can take a few precautions to make the process less stressful.
Step One: Keep A Backup
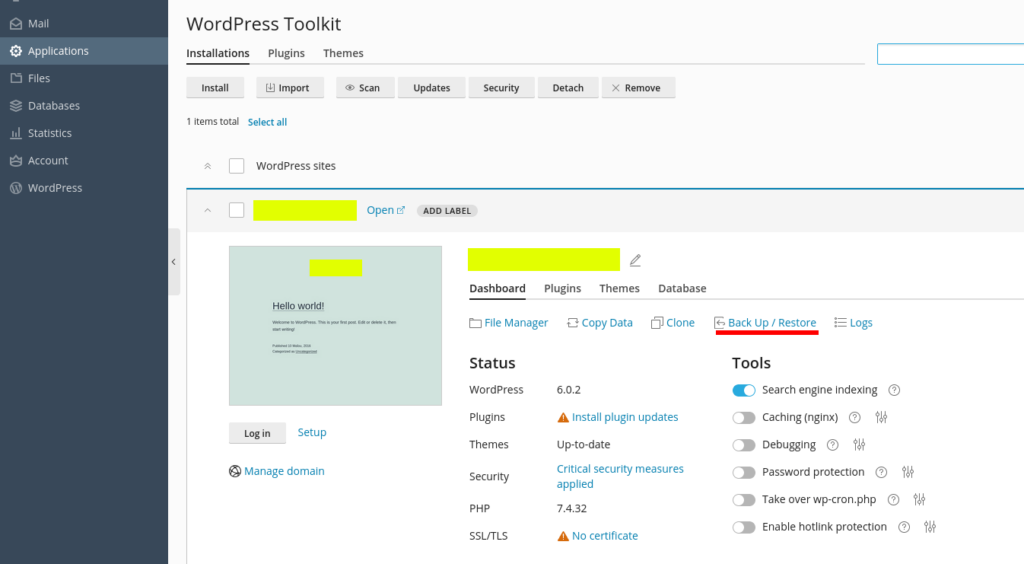
Take a snapshot of the website in its current state. This simple action will provide you with the option to restore the website if something unexpected happens. Most likely you won’t need it but then, what if you do?
A backup includes copies of the database and the files of the installation. To maintain the consistency of the website in case of a restore, keep the copies simultaneously.
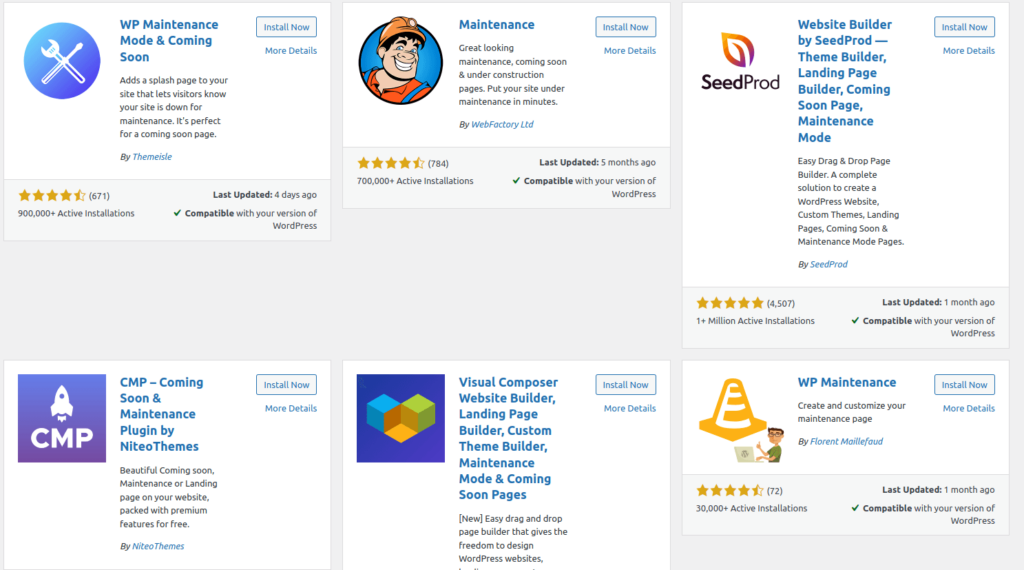
Step Two: Add And Activate a Maintenance Mode Plugin
You don’t need to surprise the visitors of your website while updating the theme; although it’s not unusual for any site at a point to display technical messages or temporarily miss some page elements, it’s far better to ask visitors to come back in a few minutes. Those who are interested in your website will do. In another case, a visitor may appear suspicious regarding the integrity of the website and leave the page with only a few chances to return shortly. When finished with the updates you can deactivate the plugin until the next time.
Step Three: Update Everything Else
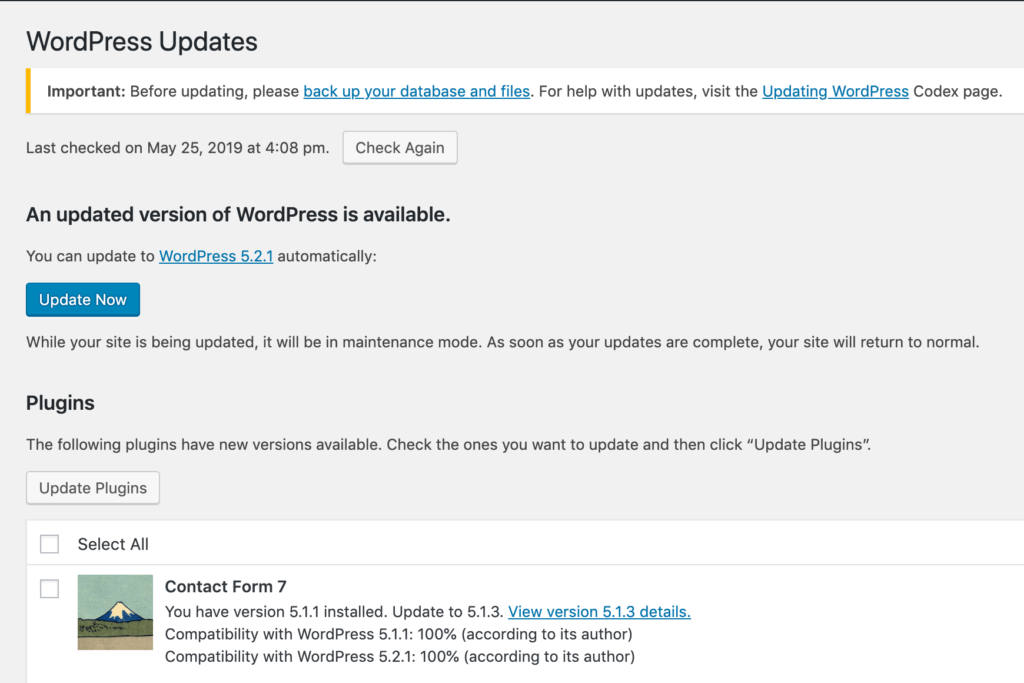
At this point, we need to check the currently installed versions of WordPress and the plugins. Given the fact, a theme update is tested to comply with the latest version of WordPress it is a good idea to have your installation fully updated before attempting to update the theme. The same applies to the plugins as well; there is absolutely no reason to keep them outdated. Only in case, a premium plugin comes bundled with the theme (like WPBakery Page Builder with most Plethora Themes), skip that update and continue with the rest. It will be updated with the theme.
When you’re done updating WordPress and the plugins review your website. Navigate to a few pages, check (if any) integrated functions (forms, carts, events, etc) and make sure everything works as expected. If a new version of a plugin is not working well, you can extract the previous version from the backup and restore it in the website. When everything is ok you can proceed to the theme update.
Optional: Deactivate Cache
If you have a caching plugin activated on your website consider turning it off for a while. Most plugins of this kind create HTML copies of webpages that load faster than the PHP versions. Indeed, they accelerate the page loading but will make it harder to find what’s wrong with your site if it’s not working as expected after the update.
Stage 2: Update The Theme’s Files
At this point, we need to remind you of the advantages of using a child theme. It’s easy to make and helps you keep the theme files intact even if you decide to perform any type of customization other than those provided on Theme Options. In the following scenarios, we assume you have added and activated the child theme. You won’t need though, to update the child theme rather than the parent theme itself.
Case 1: Updating A Free Theme
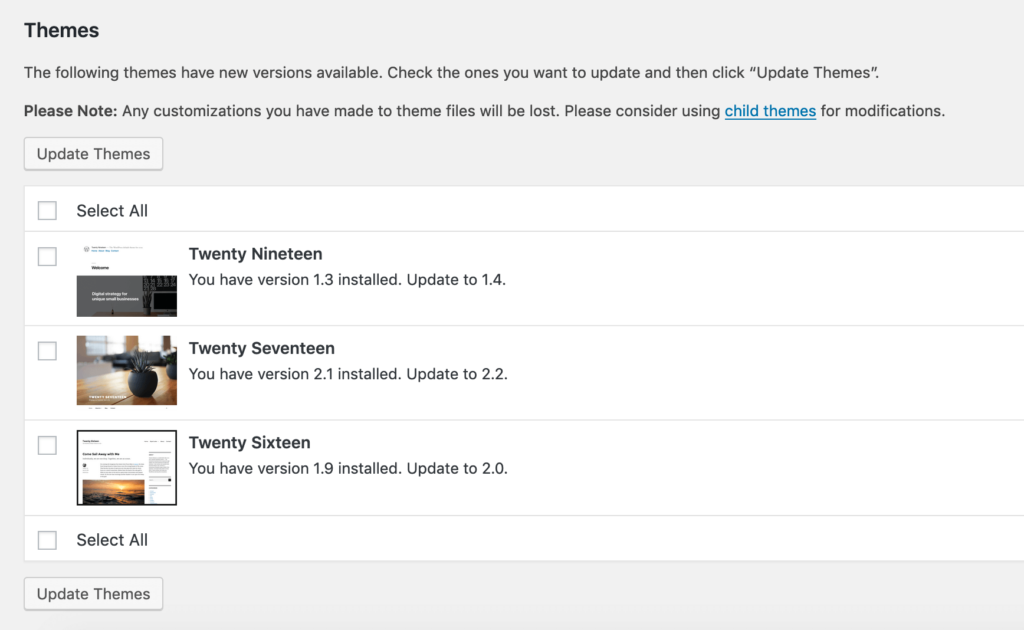
If you are using a theme from the WordPress repository you only need to go to Appearance > Themes, select the theme and click on Update. Wait for a few moments and the update should be completed. That’s all, you’re done! You won’t need to make any other steps unless,
Case 2: Updating A Premium Theme
In this case, you need to perform a few additional steps. If you have acquired the theme from Theme Forest you can use the special plugin created from Envato and save some time. Otherwise, you will need to manually upload the files
2.1 Enable Automatic Update with The Envato Market Plugin
This method applies to themes purchased from ThemeForest. Considering the popularity of this marketplace, Envato has released a plugin that allows you to easily update a WordPress theme.
- Add and activate the Envato Market plugin.
- Login to your Envato Account and get a free Token Key
- Go to the plugin settings and enter the token on the corresponding field on the settings of the plugin.
- Save settings
From this point, every time a new theme version becomes available, you will be able to update it with just one click. You will only need to go to the WordPress Updates page and navigate to the Themes section. The new version will be included in the section just like the themes from the WordPress repository. After updating the theme don’t forget to update the requested plugins.
2.2 Manually Uploading The Files
First of all Download the latest package from your Envato account (or from another distributor). You’ve might as well done that a few days ago but do yourself a favor and check again. The authors may have released another version in between. After downloading the package, extract its contents locally on a folder of your computer (choose a location you can remember). You will then be able to see a number of files and folders. Specifically, you will need to use the .zip files. If you can see the theme .zip file on the folder you should be ready to update the theme to the latest version.
2.2.a Via the WordPress Dashboard
- Go to Dashboard > Appearance > Themes
- Temporarily activate another theme (preferably the latest theme that comes with WordPress).
- Delete the currently installed theme.
- Don’t waste time and click on “Add New”; then click on “Upload Theme”. Using the dialogue box choose the theme (a new window will open up allowing for locating the theme.zip file on your computer) and hit on Install Now. Wait a few moments and the page will refresh.
- Activate the theme again.
Depending on the theme you may also need to update the requested plugins to go through. Indeed, most premium themes include one or more plugins (for all the extras they offer). As a matter of fact, to keep the theme consistent it’s absolutely necessary to perform these updates. After finishing with the requested plugins, you’re done; the website is ready.
2.2.b Via FTP
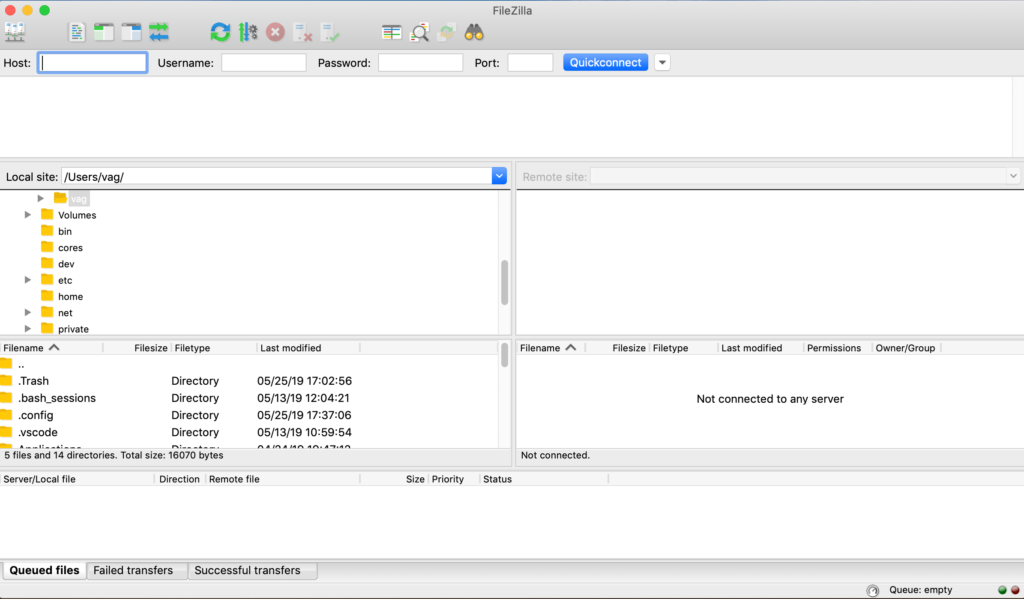
This is probably the most common method among developers who regularly have to update a WordPress theme. You need an FTP client like Filezilla. After installing the client on your computer, run the application and add the site. You will need to know the Host address, the Username, and the Password of the account to connect. The process is pretty straightforward again. Before starting, you need to have extracted the contents of the theme .zip file on your computer.
- Go to the root folder and navigate to /wp-content/themes/. There should be a number of folders inside.
- Upload the theme folder on the place. You will be prompted to overwrite the existing one, do so. You can also select if you want the application to write only the files that appear to have been changed.
- When all transactions have been completed successfully, go to the Dashboard and complete the process of updating the requested plugins.
2.2.c Via The Hosting Panel’s File Manager
This method is similar to FTP but it doesn’t require installing an FTP client on your computer. You only need to log in to your hosting account and go to the hosting panel; locate the part of the application that allows for viewing the files of the installation. Depending on the type of hosting panel it might be titled “Files”, “File Explorer” or similar. You can use it to review the file structure of the hosting space and make changes.
On most hosting plans this allows for reviewing the part of the disk provided to you for storing the files of the website. Hence, you need to locate the public folder. Depending on the system you can locate it as “httpdocs”, as the “public_folder” or as something similar.
- Go to /wp-content/themes/. There should be a number of folders inside.
- Locate and remove the current theme folder (you don’t need to remove the child theme if there is one). Don’t keep a copy of the folder or at least, don’t keep it inside /wp-content/themes/.
- Extract the theme.zip file on the place. It should take only a few seconds. Last but not least go to the Dashboard and continue with the requested plugin updates.
This last method is a bit more complicated; you will be dealing with the file manager and the hosting panel. You might also need to take care of the file permissions. Still, it provides greater control over the location and the availability of the files.
How to Update a WordPress Theme In a few words…
- Keep a backup
- Activate Maintenance Mode
- Update WordPress and the plugins
- Optionally, deactivate any accelerator
- Update the theme
- Update the requested plugins
- Deactivate Maintenance Mode
- Enjoy!





Add Comment